
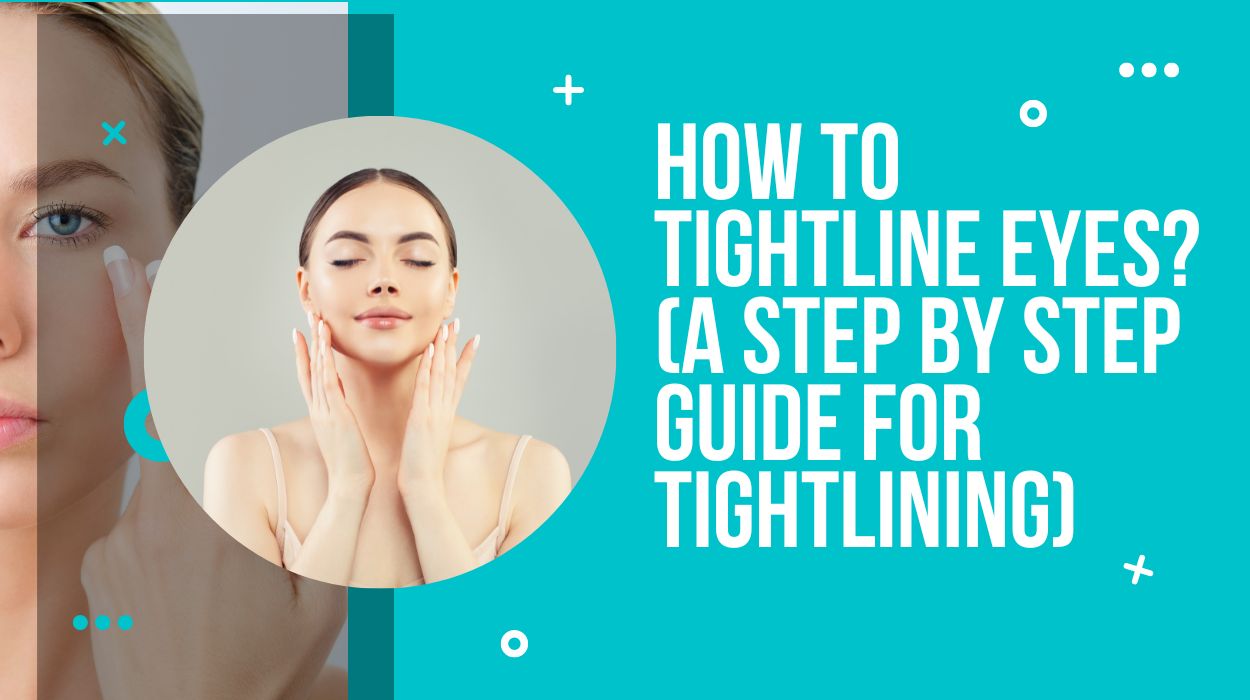
Want a natural makeup look with no eyeliner but still want your eyes to look defined? Then tightlining is your answer! Simple application with maximum effects will leave your friends wondering what you have done to your eyes?
If you are looking into learning how to tightline your eyes, then you are in the right place; in this article, we have covered the steps to get perfectly tightlined eyes! doing it for the first time can make it seem a bit difficult but worry not; we are here to guide you in this process! so let’s dive right into it!
firstly, let’s look at-
Requirements:
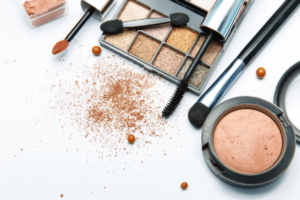
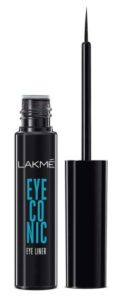
- A waterproof pencil eyeliner (a gel-based one will be the best)
- Angled eyeliner brush (if you are not using an eyeliner pencil)
- Q-tip
- Eye primer
- Concealer
- Eyelash curler
- Mascara
- Makeup remover
- Cotton swabs
- And obviously, a mirror so you dont end up poking your eyes out.
Now that we have our materials in place, let’s get that tightlining into motion-
Tightline Eyes Step By Step Guide:
Before tightlining your eyes, make sure that your position is correct. Sit down in a comfortable place with the mirror in front of you and a table to rest your elbows comfortably while applying the eyeliner.
Step one- Prime your eyes
Before starting tightlining, you should make sure that your hands are clean because you wouldn’t want your eyes getting irritated because of dirty fingers poking around them.
Next, take a pea-sized amount of eye primer and apply it over your eyelids. The primer will help even out your skin tone and help your eyeliner last long.
After applying the primer, please wait until it’s completely dried out and move to the next step.
Step Two- Conceal your Dark circles
If you have dark circles, you can conceal them using a concealer. Gently dab the concealer on your dark circles and let it sit for a few minutes before you blend it in evenly.
Make sure you use one that is your shade or two shades lighter to avoid looking like an owl with white under eyes.
Step Three- Curl your lashes
As tightlining requires you to apply eyeliner on the waterline of your upper eyelid, it will be best to get your eyelashes curled in the beginning, as this will make the waterline more visible, helping locate the place where your lashes grow out of your eyelids quickly.
Use an eyelash curler and gently curl your eyelashes without putting too much pressure on them.
Step Four – Dry out your waterline
Now that you have curled your eyelashes take a Q-tip and gently roll it or dab it along your upper eyelid’s water line to dry out the area. This is to be done to hold the eyeliner and prevent it from getting washed away when applied.
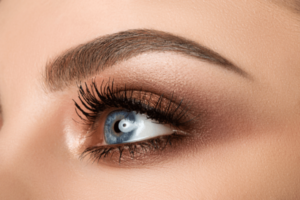
Step Five- Apply the Eyeliner
Now we get to the exciting part! With your fingers gently pulling your eyelid, you can use a q tip to help hold your eyelashes upwards and keep the eyelid in place. Tilt your face a little bit to the back so that you can clearly see your waterline in the mirror.
Now take your eyeliner and gently glide it across your lash line; remember to not trace the eyeliner all the way down to the inner corner of your eye as this will make it look unnatural and defeat the purpose of it being discreet. To get the best results, stop at the point where your tear gland starts or where your lashes start to thin out.
To make your lashes more defined, you can apply the eyeliners two-three times more, giving it a denser look; this is based on your preferences.
Remember- while lining your upper eyelid, make sure not to blink as you will end up transferring the eyeliner to the lower eyelid; if this happens, quickly dab it with a cotton swab before it dries, so you dont end up ruining your look.
Step Five – Fill in the spaces between your lashes
After applying eyeliner to your water line, look for any bald spots where your lashes are not present. Fill these by gently dabbing the eyeliner and filling the tiny dots.
You can also use eyeshadow of the same color as the eyeliner for this purpose by pushing it up into the base of your lashes.
Step Six – Repeat onto your lower eyelids (optional)
If you want a more natural and fuss-free look, you can skip this step. Still, if you want to add a bit more drama to your eyes, you can waterline your lower eyelids too; simply follow the same steps as you did with your upper eyelids, similar to how we apply kajal.
If you dont want to apply it onto your waterline, you can also apply it just below it, but remember this will make your eyes look smaller.
Step Seven – Sealing the deal
Now that you have freshly tightlined eyes, it’s time to take steps to make it last longer. Firstly gently wipe away any smudges of eyeliner you can see. Then gently dab some eyeshadow of the same color as your eyeliner on top of it; by doing this, you will protect the eyeliner from washing away if your eyes start to water.
Step Eight- Curl your eyelashes and apply some mascara (optional)
Now to get that perfect eye look, let’s curl the eyelashes again to make sure they are not flat and generously dab on some mascara, And voila, you now have the perfect eyes!
FAQs
1. Is tightlining safe for my eyes?
Yes, tightlining is entirely safe for your eyes, but be careful while handling all the brushes and eyeliner pencils, so you dont end up poking it into your eye.
2. How to remove the tightlining?
Use a q tip and dab some makeup remover onto it and gently blink on it to remove the eyeliner. You can also use eye makeup remover wipes to do the same.
You May Also Like To Read:
Best Kajal And Kohl Pencil in India
Conclusion
There you have it- steps to follow to tight line your eyes like a pro! Some things to remember will be to always use waterproof products, and take utmost care while handling the eyeliner pencils, so your eyes remain safe.
For a newbie, tightlining may seem hard at first, but it will get easier with practice. We know you will rock it! All the best in your tightlining journey.
Tell us in the comment which step you found the most useful!
